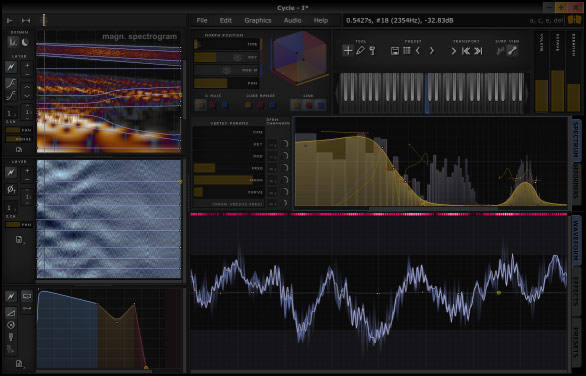
User Interface |
Playback Bar
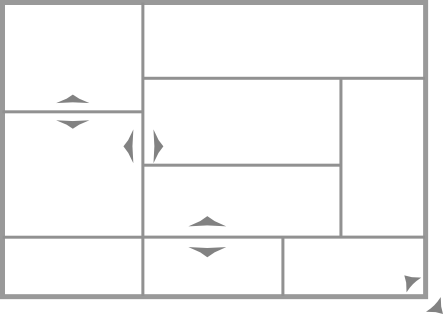
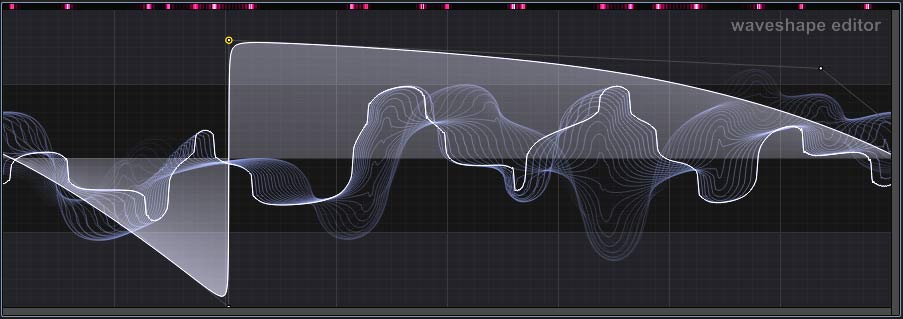
The playback bar is the timeline of the sound. It has a playhead that sets the graphic position in time by left-dragging with the mouse. The waveshape editor and spectrum are views of the sound's waveshape and harmonic spectrum at the time set here. Note that for brevity, we say 'time' yet the playback bar will set the position of whatever is the currently viewed morphing axis (time is the default). Another function of the Playback Bar is to set the view depth. This is done by right clicking on the bar a distance away from the playhead -- the depth will be the space between the two. The view depth does two things: it sets how much of the rendered waveform is visible in the waveshape editor's visualization and it can be used as part of the workflow process of creating vertex paths.
ZoomingWhen you zoom in or out on either the spectrogram or waveform surface, Cycle will keep the time axis of each panel synchronized, including the envelope panel. This alignment provides a more intuitive visual feedback on the changes you're making when you edit an envelope. To zoom to the attack part of the envelope, click the To zoom back out, click the |
Vertex Params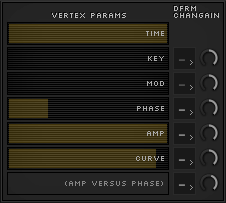
This window shows the values of selected vertices. If more than one vertex is selected, each slider shows the average parameter value of the group. Use these sliders to move groups of vertices or adjust a parameter of all of them at once. Note that this is a workflow area and not connected with any audio processing, so these sliders aren't automable parameters. Each vertex can have up to 6 parameters, if they're in a morphing domain, but in all areas with curves the vertices have at least an x- and y-position and a curve-sharpness value: Time Red Blue Phase/Freq Amp/Magn Curve Amp-vs-phase |
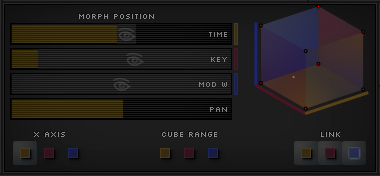
Morph PanelIn Cycle, the defining structure of the sound has multiple dimensions it can morph over. These morphing ranges are by default time, key scale, and modulation. The general term for each respectively is Yellow, Red, and Blue, because they can be remapped to multiple modulation sources. The sliders in this panel set the position within that morphing space used to render visualizations of the sound. Also, the sliders are an important part of the workflow of Cycle - the slider positions are used in the proximity-selection of vertices. |
Mesh Selector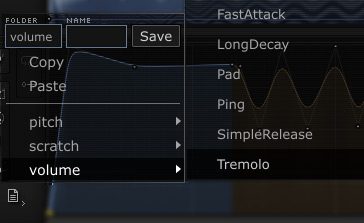
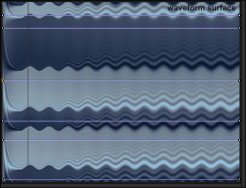
The Mesh Selector is a popup menu with a list of mesh presets. When you hover over an item in the menu, the associated editor previews the contents of that mesh. The menu also lets you save the current mesh data to a preset. Optionally you may provide a folder for the file to save into. You may copy and paste mesh files if they are compatible. For example, you cannot copy an impulse response mesh file to the Spectrum Filter because they have different structure. However, you can copy and paste between the Spectrum Filter and Time Surface. |

 button left of the playback bar. Each time this button is
clicked, the panel will zoom in by a factor of 5.
button left of the playback bar. Each time this button is
clicked, the panel will zoom in by a factor of 5.
 button.

UI Organization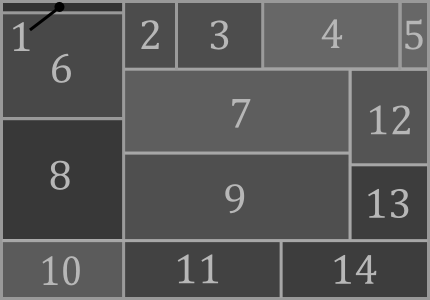
1 Playback Bar. 2 Vertex Params. 3 Morph Panel. 4 Misc. 5 Master Controls. 6 Spectrogram. 7 Spectrum. 8 Waveform Surface. 9 Waveshape Editor. 10 Envelopes. 11 Deformers. 12 Other fx. 13 Waveshaper. 14 Impulse Modeller. 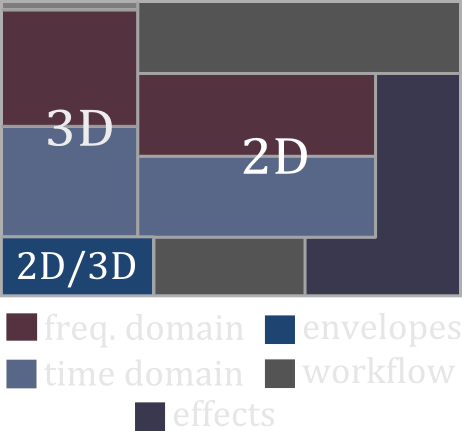
|
||||||
Spectrum FilterThe Spectrum Filter is the filtering and spectral-additive synthesis unit of Cycle. Like the Time Surface, this component has two editors that show different perspectives of the spectral information. 
|
||||||
Preset Browser
The preset browser allows you to catalogue presets and easily find the one preset you're looking for. Multi-keyword searchThe search function updates the preset list live. It looks at all text fields including author, preset pack, preset name, and the tags. So you can narrow down the list to any of these, removing the need for separating preset into folders. Preset TaggingIn the Save As... dialogue, there's a field for entering tags for the new preset. Also, the browser window's tags field is editable so when you select a preset you can adjust the tags by clicking the field and changing the text. In the text field tags are comma-separated. Browsing, downloading presetsThe browser lets you view a list of community presets. Presets that you have already downloaded are excluded from this list. Preset SharingA click to the upload button uploads the preset to the Amaranth Audio server, making it available to the community. RatingYou can rate presets to keep track of your favourites. Keyboard Shortcuts
|
 on the upper right, in plugin mode.